Showing posts with label Map. Show all posts

Friday, August 29, 2008

Update! Ascend

My latest map, Ascend, has had a good deal of playtests and I am now making improvements. There were occasional spawn problems, which have since been resolved. The other problem wasn't so much the fact that you spawn and have a battle, but when in a battle, there is no place to hide behind, or regain health. New structures have been added, along with new miscellaneous features. In the few pictures I have, the captions are below.


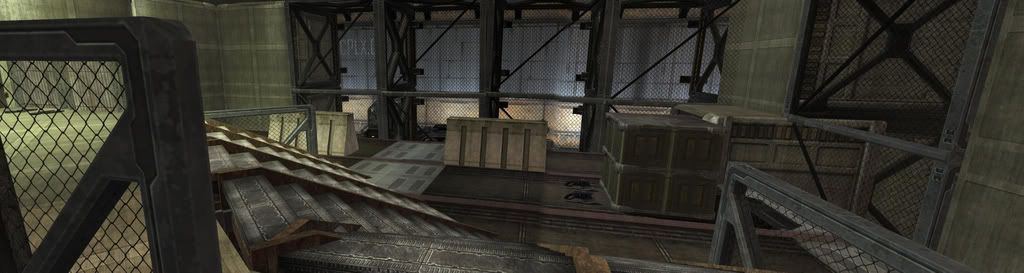
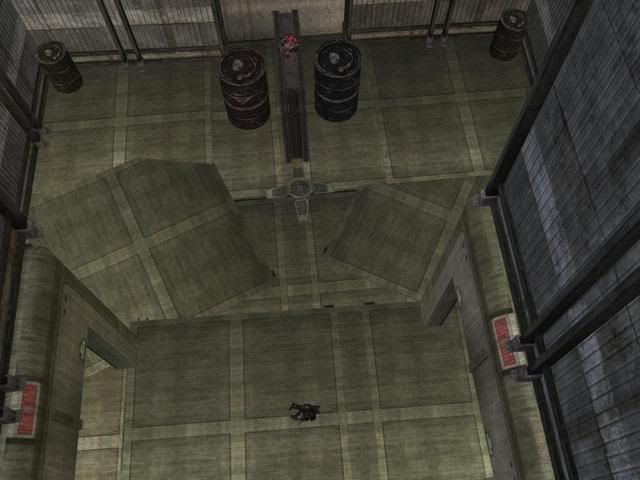
First off is a panorama of the new bottom area. Click to view fullscreen.

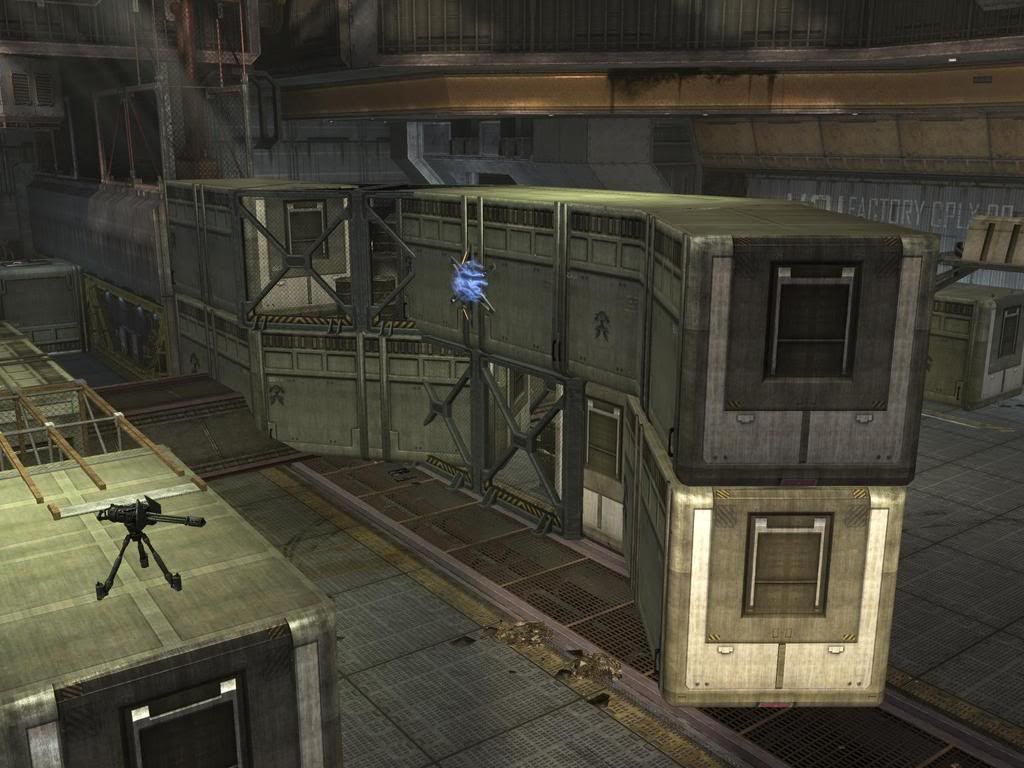
As for the middle of the map, there is a box surrounding the flamethrower, and two interlocked walls. The walls are a fence wall and a regular wall combined, and when crouching, you are safe from fire. Camo added into the pillar for aesthetic touch.

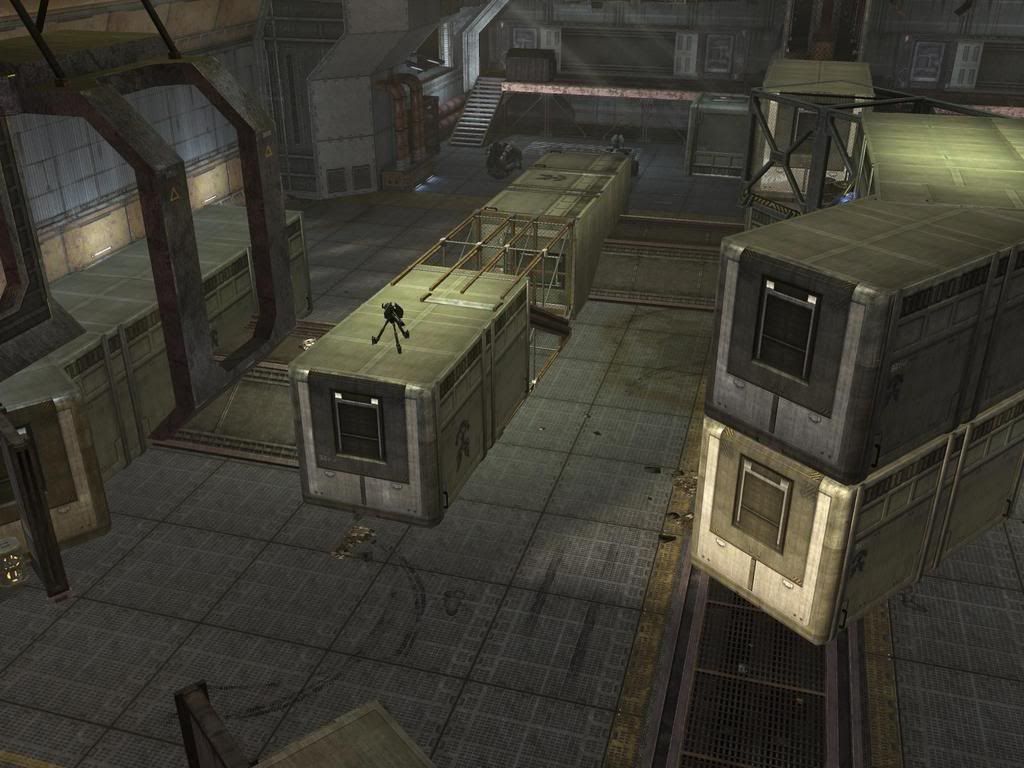
The "power alley" had some changes as well. This alley is the quickest way to score a capture in CTF, but like in Paragon, the quickest way is the most deadly. Note the extra fusion coil next to the turret. Respawn time of active camo and the three fusion coils nearby have been made longer.


A couple other changes:
- One extra BR added nearby pillar.
- All crates, except the one visible in the panorama, have been removed.
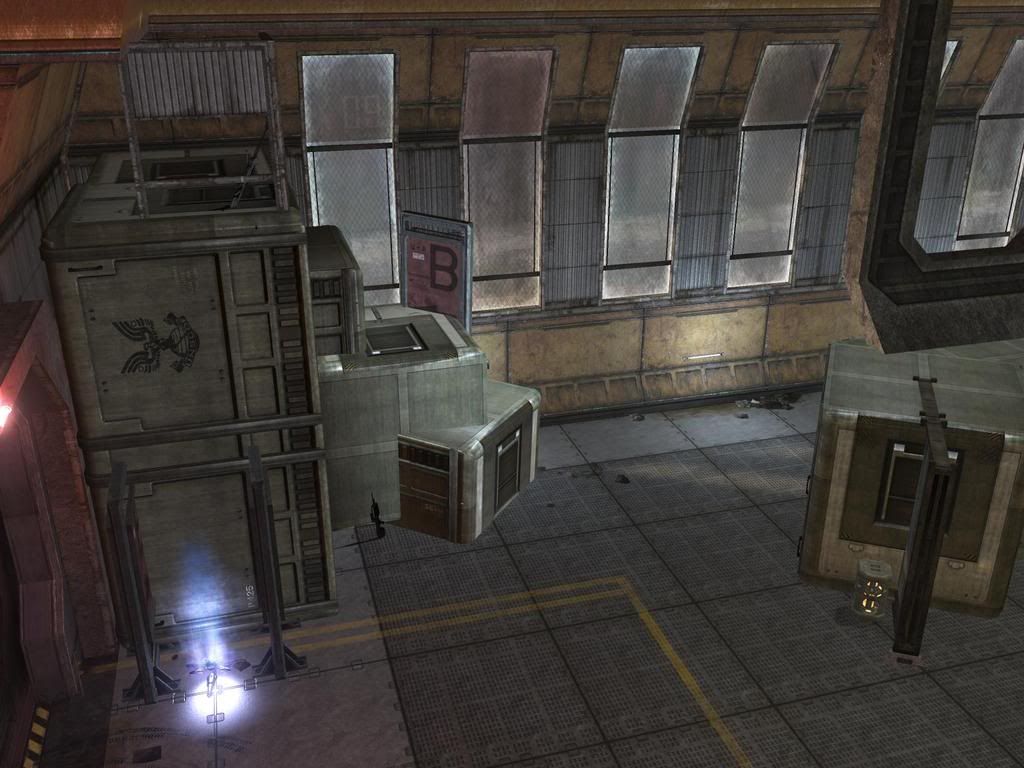
- In the back corner of the map (On the bridge side, but not where you spawn) is an open single box. It is there to provide a safe spawn, and you can stand inside it, no need for crouch.
- Bubble shield set not to place at start.
- Needler is moved to be leaning on the interlocked wall on the defenders' side.

Wednesday, August 27, 2008

Map: Ascend


Ascend is the second FFA map ever made by me, behind Industrial. Unlike Industrial, which is composed of many different complex sections, and usually holds 6 to 9 people, Facility is somewhat of a remix of Furious D 18's Unchained: a smooth box floor with a few different levels of elevation, a large pillar, and is meant for 2-4 players.

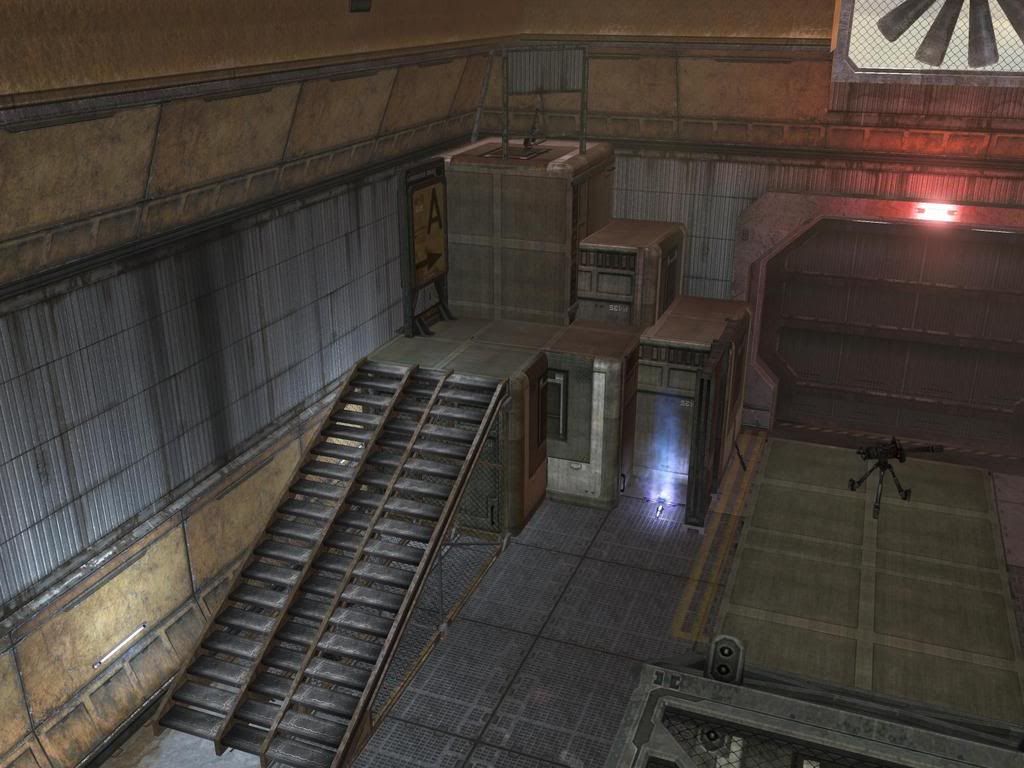
Ascend's floor is composed of single and double boxes, along with a lower level of bridge flooring, and a couple wall ditches to hold the active camo and one for spawning. It has a few similarities to Furious D 18's map, Unchained. In the pictures, captions are below.

It is designed for Doubles, 1 on 1, or 2-4 Player FFA.

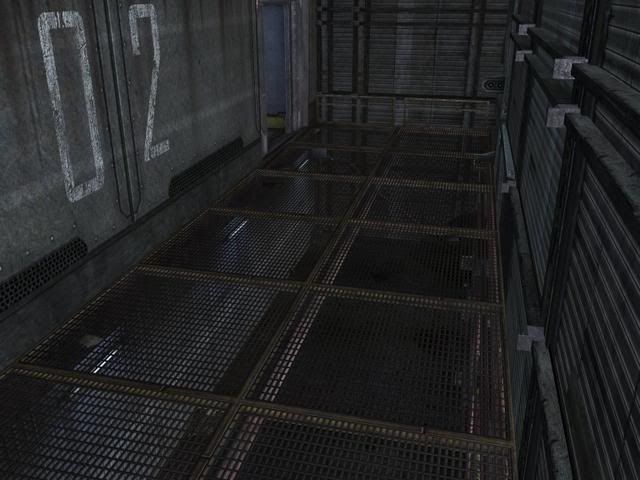
In this picture: the bridge floor provides cover because it is lower than the box floor, you can also get a view of the camo ditch. Be careful in grabbing it.

In this picture: the interlocked stairs from one level to another. Crates all over the map provide limited cover. The lone pillar is yur best bet for avoiding enemies.

In the middle of the map is the lone power weapon: the flamethrower. It is not overpowering because of the long, open ranges in the map, and really adds spice to the gameplay.

A different view of the back bridge floor. Behind the stairs is a bubble shield.

In this picture: the machine gun turret on top of the dumpster was from Furious D 18's Unchained. It provides some good cover, and balances the active camo on the other side of the map. Behind it is the wall ditch in the next picture.

This is where the defending team spawns. Although the other team has the edge on camo, they have the machine gun turret.

An overview from a different angle.

The camo. Same design as Furious D's overshield spawns, but his breakage job was better than mine, so I had to use camo. :(


A couple closing notes:
For those who were wondering, here are the items on map:
- 2 BRs
- 1 Needler
- 2 Plasma Grenades
- 1 Flamethrower
- 1 Bubble shield
- 2 SMGs
- 2 Spikers

Also, another important note, the bridge floor and the defenders spawn are both one body length below the box floor, so you cannot see opponents above you witrhout jumping up or backing up. Also, the map is unbreakable as far as anyone in my parties have gone.

Finally, these are the games meant to play with Ascend:
- Team Doubles Slayer, CTF or King (2v2)
- FFA Slayer, Ball, or King (2-4 Players)
- One on one Slayer, Ball, or King (1v1)

Friday, August 15, 2008

Map: Industrial


Industrial has one or more update posts. Click here to view the latest one about its changes.


Industrial was my latest forge endeavor, and my first FFA-based map. It has a unique divider between the two main rooms, both long and short passages for unique BR duels. If I could describe this map in one word, it would be "original." Four words? "One of a kind." Catch my drift?

There is a long fence bridge to quickly navigate the map, but it leaves you open to attacks with limited cover. A unique "courtyard" is a second area of the map, with dumpster columns, a secret way through, and limited cover. You won't find another map out there like Industrial.

The gameplay is probably the only thing more unique than this map: it is absolutely solid, and you can have a fun time even when losing. The main complaint with FFA games is that they are non-tactical, and this map's interesting geometry changes that.


An overview of the fence bridge areas. A gravity hammer spawns on the other side of the door.

An overview of the main area. Rockets spawn on the geomerged fence box with the forklift inside.

A view of the courtyard.

A different view. In the bottom right you can see a hole: a geomerged open double box gives you a secret passage to the courtyard.

A view of the first section of the fence bridge. The interlocked bridge leads to the Sniper perch.

I really took the time with this map, and used more geomerging than any of my other maps. You need to crouch to get in the single box, but there is a regenerator inside.

The interlocked Camo box.

Tuesday, August 12, 2008

Map: Fissure


Fissure has one or more update posts. Click here to view the latest one about its changes.


Fissure plays "big": it uses the entire area of Foundry and is designed for vehicular warfare and games for up to 6 on 6 or 7 on 7. Its theme is many sloped, crooked dividers splitting the area, and the bridge "hills" that can be used as cover or for launching vehicles. It is best played with CTF, Territories, and Slayer. There are also two sniper towers overseeing the map in the back. It is semi-symmetrical, meaning that the structures have the same effect, and the weaponry and jumps are about the same, but aesthetically and physically, some structures are different. Here are the pictures: click on the pictures to view them in full-size. Captions are below the corresponding shot.


A semi-overview, showing the middle wall dividing the field. The only way to ever get over this wall is with a grav lift (One per team, long respawn).

A different angle. You can see a couple of the bridge "hills;" there are two on each side. The hills can be used to jump on top of the one-floor dividers. Both machine gun turrets (One per team) have been removed to make it easier to capture.

A view of the other side, including the fence wall bridge.

A view of one of the sniper towers. Both have two ways up, and one sniper rifle with one spare clip and a 45 second respawn.

The other tower. These are an example of semi-symmetry: not the same structure, but the same effect and jumps.

Map/Gametype Combo: War Dome

The following post is about a retired item. You may request it, and I can put it back for you to DL.


War Dome is a symmetrical map for up to 4 teams that hosts 4 tactical, yet totally insane, gametypes. I'll explain the map and the four gametypes below.

War Dome - Setup

- War Dome doesn't really need screenshots - it's just an enclosed dome - but some are below.
- Around the border of the dome are four team spawns and four equipment pieces. If you go around the border of the dome, you'll see: spawn, grav lift, spawn, regenerator, spawn, grav lift, spawn, regenerator.
- In the center of the dome are four grav lifts (Scenery, not equipment. Instant respawn.) set up in a square. (Yes, like Viceball. Sorry Vicious, but I didn't take the actual gametype)
- In the center of those four lifts is a Rocket.
- There are 10 plasma grenades in total.


Hidden Threat - Game 1

Hidden Threat is Territories that gives you a Hammer to start. There are five territories, each a circle. One in the middle, four adjecent to the middle one. The equipment and the rockets are in play. The plasma grenades are not.
Territories capture in just three uncontested seconds, and when you are in a territory, you have good camo. You have enhanced radar, just out to 10 feet though, so be careful and prioritize.

Needle Hill - Game 2

Needle Hill, obviously King of the Hill, spawns you with needlers and low gravity. The equipment and the plasma grenades are in play. No rockets. The hill is a circle around the four grav lifts. You get one point per second in the hill, even if it isn't uncontested. You get poor camo and even less gravity in the hill. It gets chaotic, as people can even reach the roof of the dome.

Bruteball - Game 3

In Bruteball, the oddball is above the four grav lifts, which you pick up automatically by being next to it. Everyone has 4x overshields, but the ball carrier never recharges shields, even in a regenerator. First to 200 seconds wins - guard the ball. Equipment is the only thing in play - no rockets or plasmas.

Sword War - Game 4

Swords, which is often made fun of, is actually incredibly tactical when turned into a team game. No, not in terms of timing, but teamwork - when to move back, and when to ambush an enemy focused on your teammate. You have to guard each other's back. In this game, there is seven rounds, you have low gravity, spawn with a sword, and equipment is the only thing in play. You have only one life per round.

Download Links

Map: Facility

Map 'Facility' by H3C x Nevz


Facility has one or more update posts. Click here to view the latest one about its changes.


Facility, by yours truly, uses the famous Territories gametype Conquest, originally made by AZN FTW. Usually, these maps have 5 or 7 territories (Facility has 7), where teams capture the ones along their side, and meet the opponents in one choke point, battling for position, and pushing the enemy back into their base.


While Conquest maps have been done on Rat's Nest, Isolation, Snowbound, and numerous ones on Foundry, Facility sticks out for adding a twist to the gameplay. While teams still meet at a common "choke point," many obstacles along the way have two ways around them, so now you can try to stealthily evade your opponent. You'll see that the one radar jammer plays a huge role in the gameplay of this map, and so does crouching. Without further ado, here are the pictures of Facility. Click on the images to see them in larger size. Captions are below the corresponding image.


After leaving the square-shaped "lobby" spawn rooms, the teams capture the first territory, seen here.


Although not much is shown here, this is a big tactical piece: this open area has two open doors, but is also part of territory one, so you can hide behind the wall while capturing. This is an example of being able to evade the enemy.


The second territory for each team is a big one, literally and figuratively. It covers a lot of land, even has a sniper tower in the corner, and when a team makes a run, this territory is crucial to control. There is a lot of cover, so it becomes a strategic firefight. The way this area is formatted is designed for unique gameplay, because when a team captures the middle territory and is up, they have two more territories wide open for the capture. If controlled, it could be 6 to 1, and the enemy is at your base. If you push them out, it's your run now.


This area is the third territory for each team. It is smaller than the second, and consists of the stairs, fence bridge, and the box platform. The double boxes are interlocked with each other and merged with Foundry's back wall so you cannot fall through a crack. It also has a single box interlocked in (which you can walk through without crouching: BR inside). Here is where the first firefights of the game begin.


This area, shaped like half of a hexagon (Weird shape, I know), is the choke point. You get to it by going on the fence bridge, immediately through an open double box, and into the middle area. What surprises people about this screenshot is that you don't see radar jammers or maulers in regular Conquest maps, but really, they made perfect sense. The radar jammer allows people to slip through and stealthily capture territories, and the mauler can neutralize invaders at close range. Maulers do have long respawn times, and no spare clips, so they are not overpowering.