
Facility has one or more update posts. Click here to view the latest one about its changes.
Facility, by yours truly, uses the famous Territories gametype Conquest, originally made by AZN FTW. Usually, these maps have 5 or 7 territories (Facility has 7), where teams capture the ones along their side, and meet the opponents in one choke point, battling for position, and pushing the enemy back into their base.
While Conquest maps have been done on Rat's Nest, Isolation, Snowbound, and numerous ones on Foundry, Facility sticks out for adding a twist to the gameplay. While teams still meet at a common "choke point," many obstacles along the way have two ways around them, so now you can try to stealthily evade your opponent. You'll see that the one radar jammer plays a huge role in the gameplay of this map, and so does crouching. Without further ado, here are the pictures of Facility. Click on the images to see them in larger size. Captions are below the corresponding image.

After leaving the square-shaped "lobby" spawn rooms, the teams capture the first territory, seen here.
Although not much is shown here, this is a big tactical piece: this open area has two open doors, but is also part of territory one, so you can hide behind the wall while capturing. This is an example of being able to evade the enemy.

The second territory for each team is a big one, literally and figuratively. It covers a lot of land, even has a sniper tower in the corner, and when a team makes a run, this territory is crucial to control. There is a lot of cover, so it becomes a strategic firefight. The way this area is formatted is designed for unique gameplay, because when a team captures the middle territory and is up, they have two more territories wide open for the capture. If controlled, it could be 6 to 1, and the enemy is at your base. If you push them out, it's your run now.

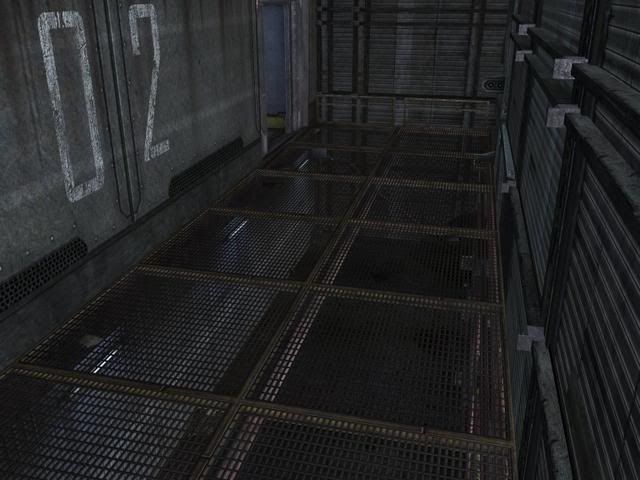
This area is the third territory for each team. It is smaller than the second, and consists of the stairs, fence bridge, and the box platform. The double boxes are interlocked with each other and merged with Foundry's back wall so you cannot fall through a crack. It also has a single box interlocked in (which you can walk through without crouching: BR inside). Here is where the first firefights of the game begin.

This area, shaped like half of a hexagon (Weird shape, I know), is the choke point. You get to it by going on the fence bridge, immediately through an open double box, and into the middle area. What surprises people about this screenshot is that you don't see radar jammers or maulers in regular Conquest maps, but really, they made perfect sense. The radar jammer allows people to slip through and stealthily capture territories, and the mauler can neutralize invaders at close range. Maulers do have long respawn times, and no spare clips, so they are not overpowering.


No comments:
Post a Comment